
A Quilt in the Making (and the Lessons I Didn’t Expect)
I started this quilt back in October, telling myself it would be a quick, cozy project. If you sew or quilt, you already know how that usually goes, “quick” turns into months of cutting, arranging, rearranging, and convincing yourself to unpick seams when something isn’t quite right.
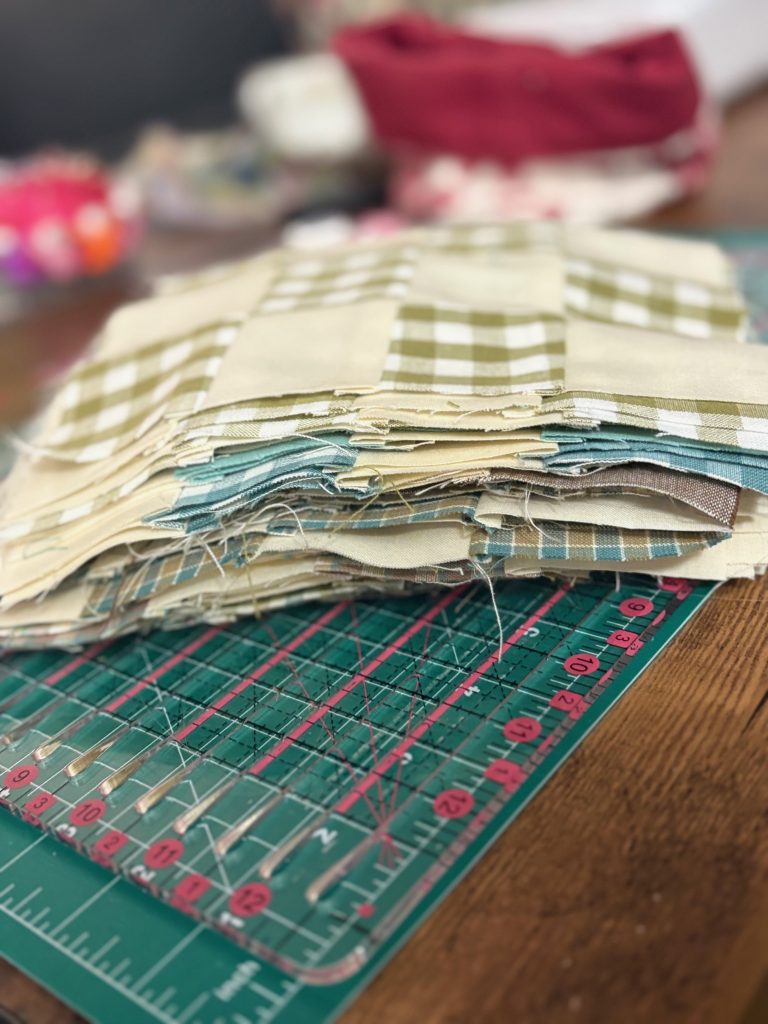
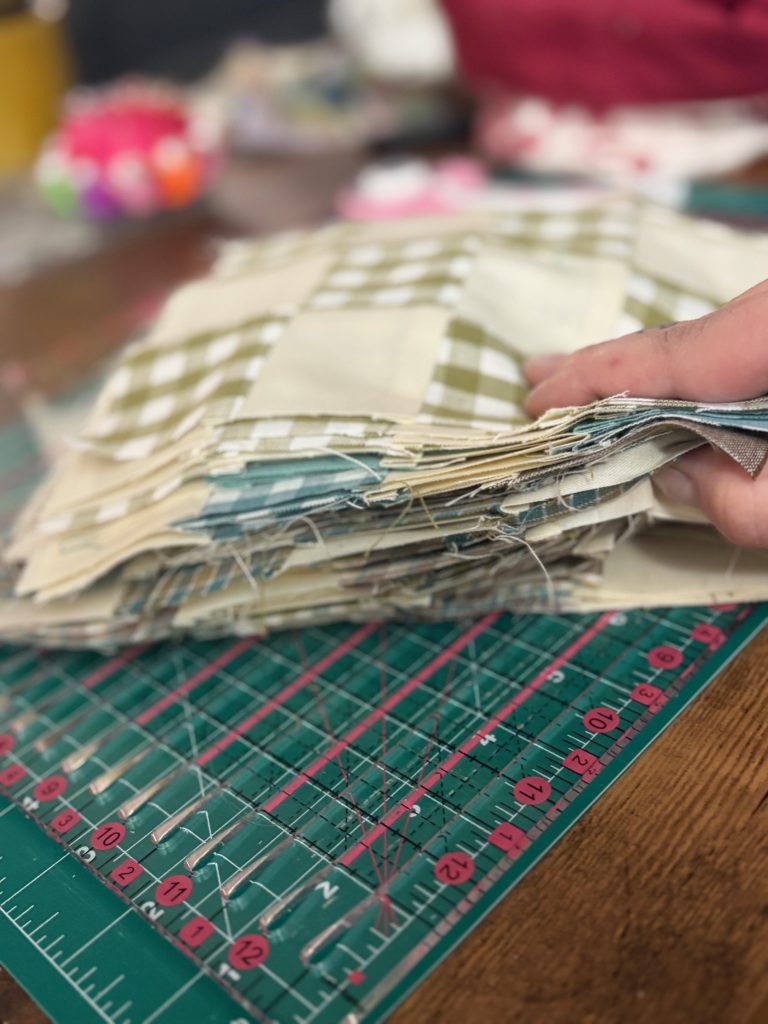
This quilt began with a jelly roll I ordered from Amazon. I was excited to jump in because jelly rolls are supposed to make things easier: pre-cut strips, coordinated fabrics, less prep work. At least… in theory.
Cutting and Planning
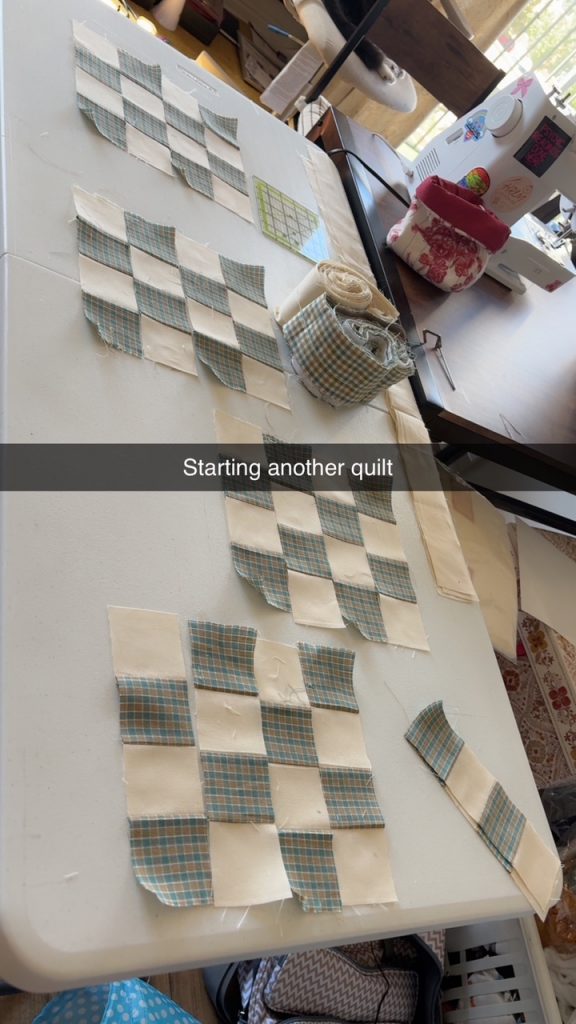
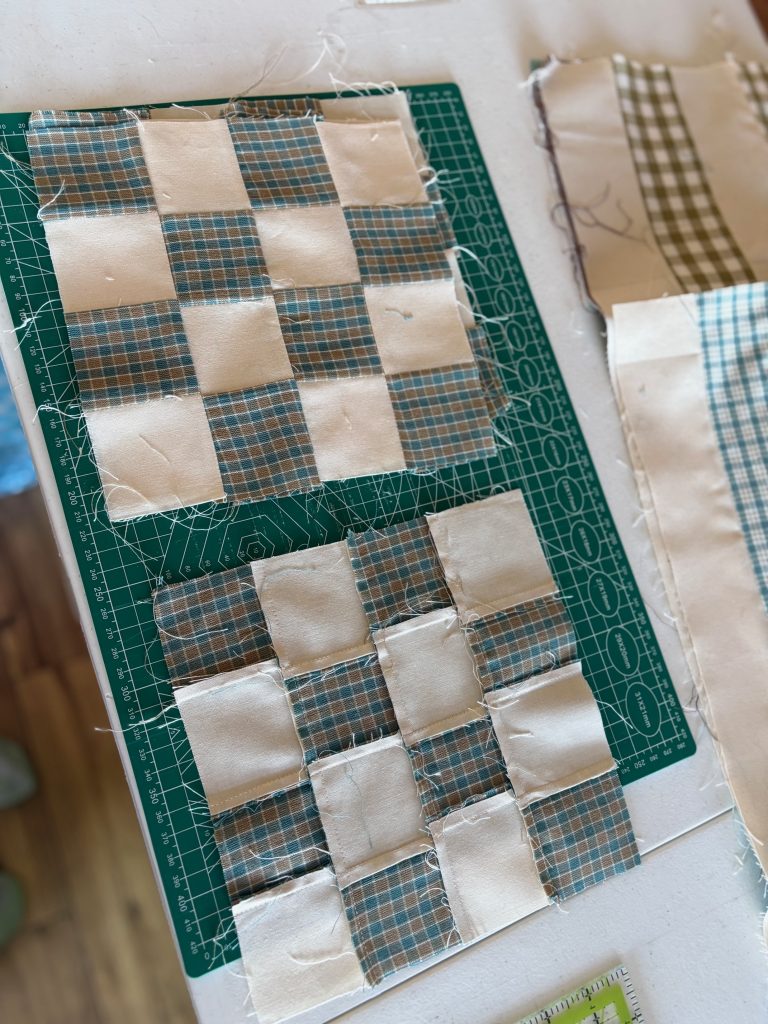
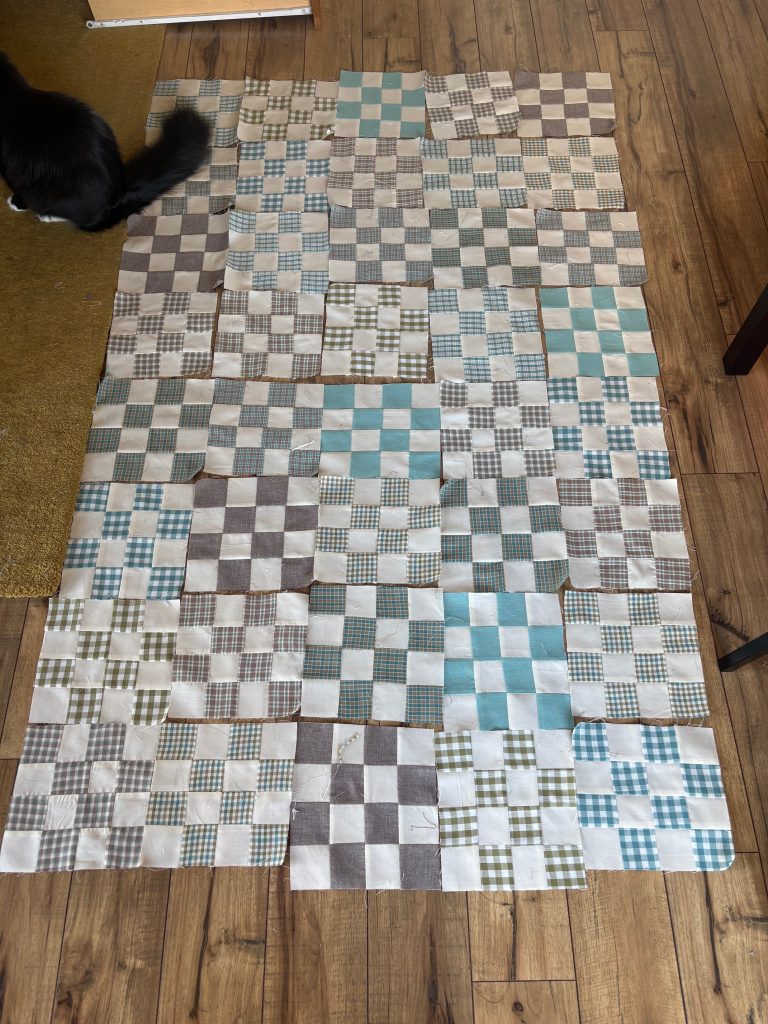
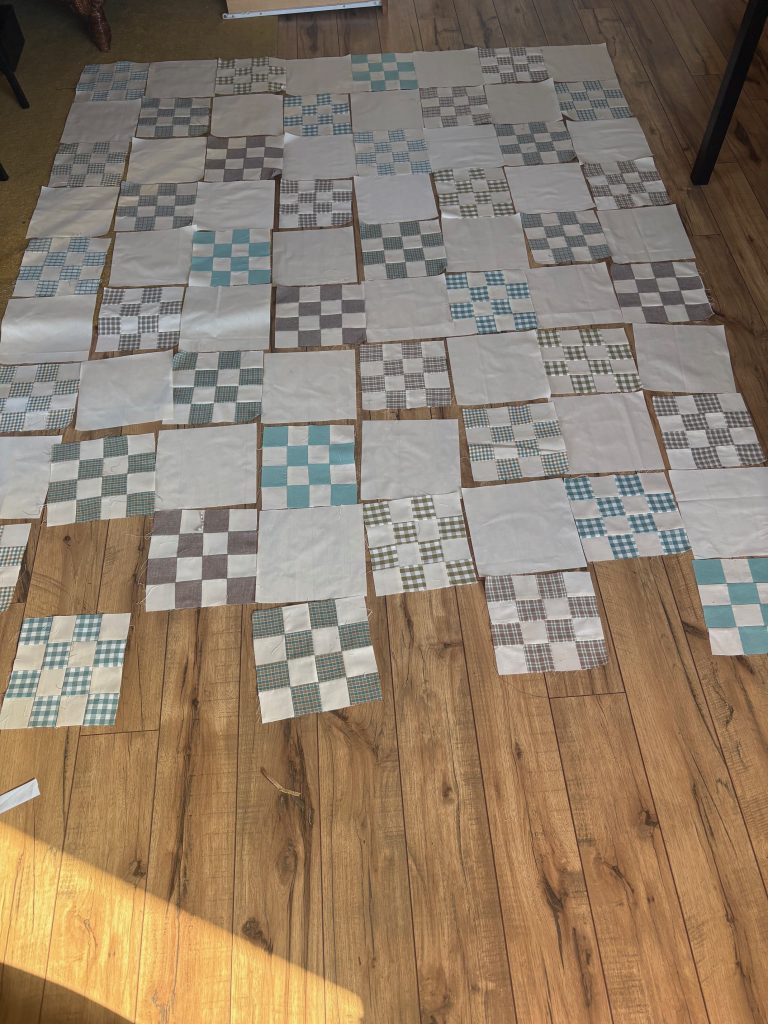
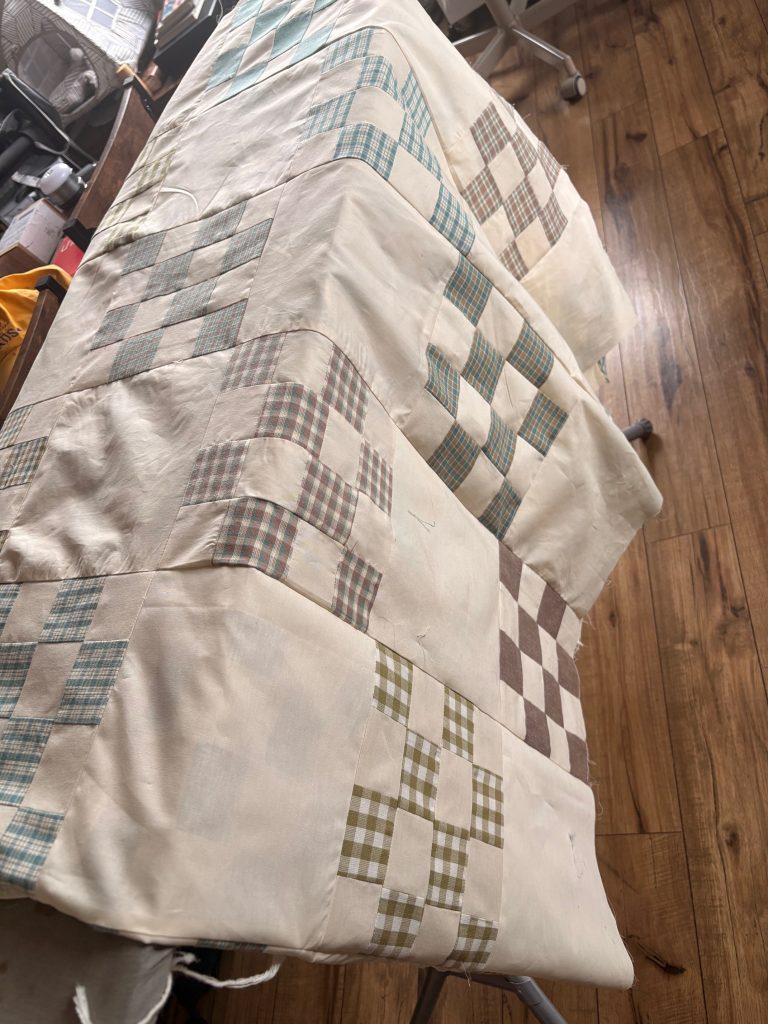
My plan was to keep the design simple and graphic, alternating light fabric with the patterned strips to create a woven or checker-style block. I cut the strips, pieced them into segments, and started laying blocks out on my table to see how the pattern would look repeated.
That’s one of my favorite parts of quilting: the stage where everything is loose and flexible, and you can move blocks around until it just feels right.
The Jelly Roll Surprise
Somewhere along the way, I realized something wasn’t lining up the way it should. After a little measuring (and a little denial), I discovered that not all the strips in the jelly roll were actually 2.5 inches wide.
If you quilt, you know that a small difference in cutting can snowball fast. Seams don’t match, blocks shrink unevenly, and suddenly you’re rethinking your entire plan.
I definitely had a moment of frustration, but I decided to keep going and adjust as I went. A little trimming here, easing seams there, and reminding myself that handmade things aren’t supposed to be perfect.
And honestly, I think that’s part of what gives a quilt its character.
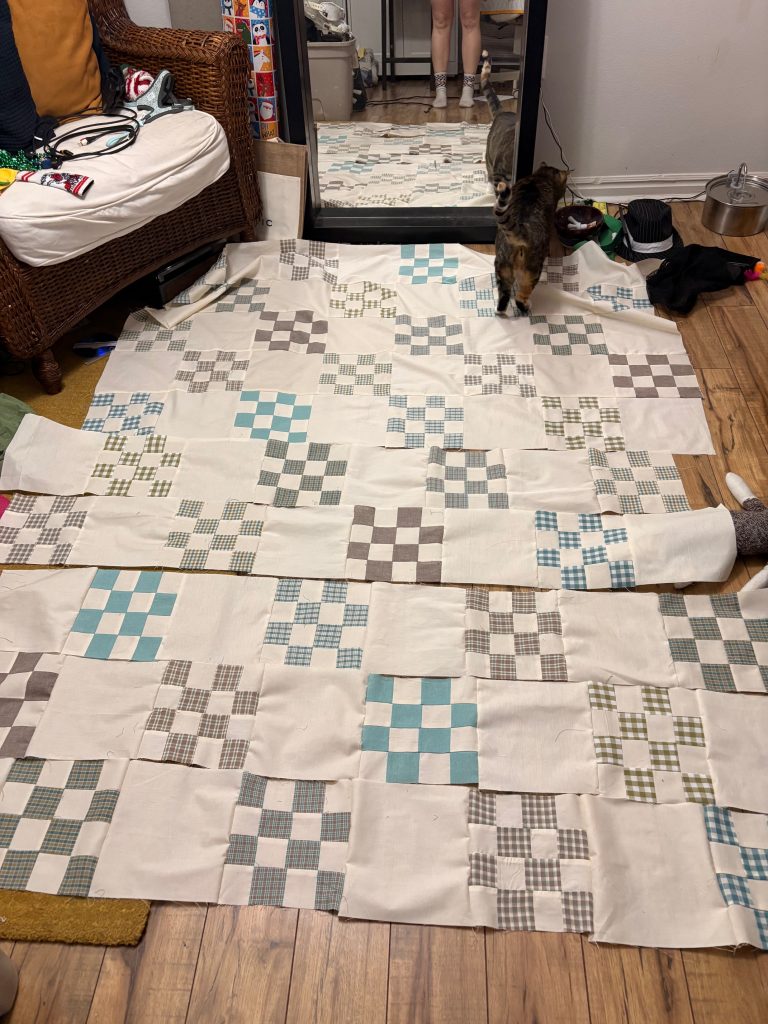
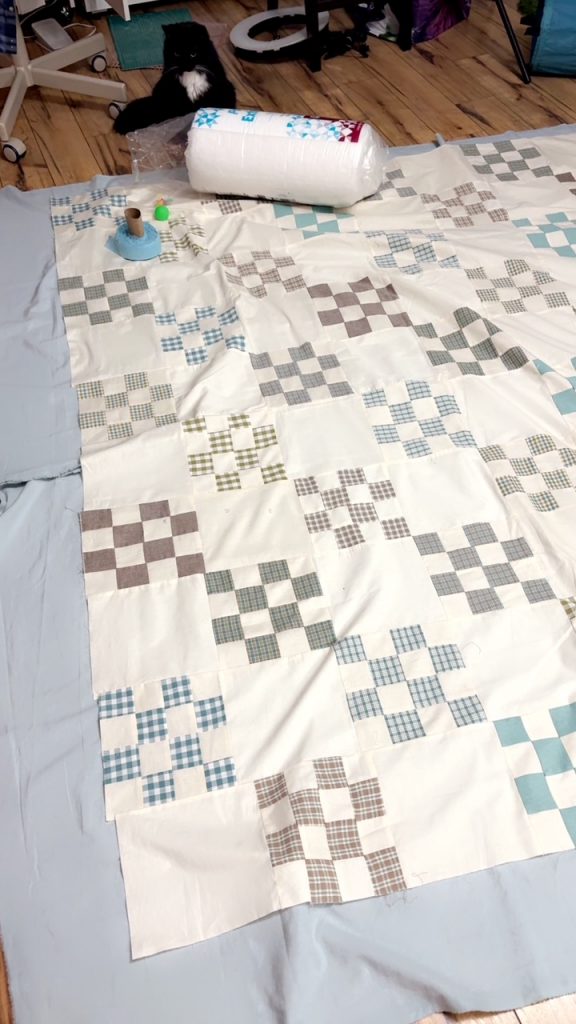
Piecing the Top
Once I got into a rhythm, the blocks came together slowly but steadily. I worked on it in pieces over weeks (some days sewing several blocks, other days just pressing seams or laying out rows).
Working on a long-term project like this became its own kind of routine. It was something I could come back to whenever I needed a quiet, creative hour.
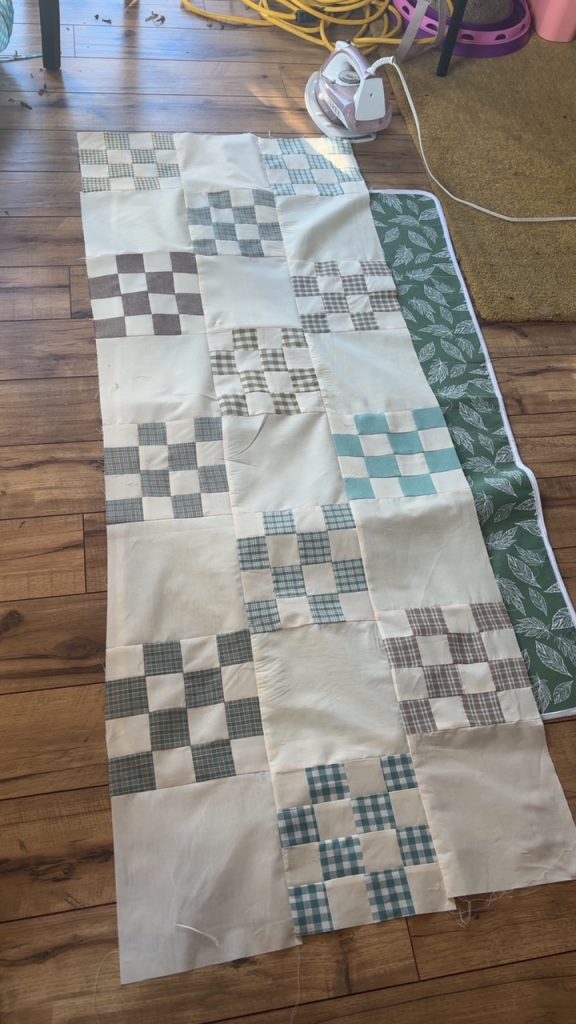
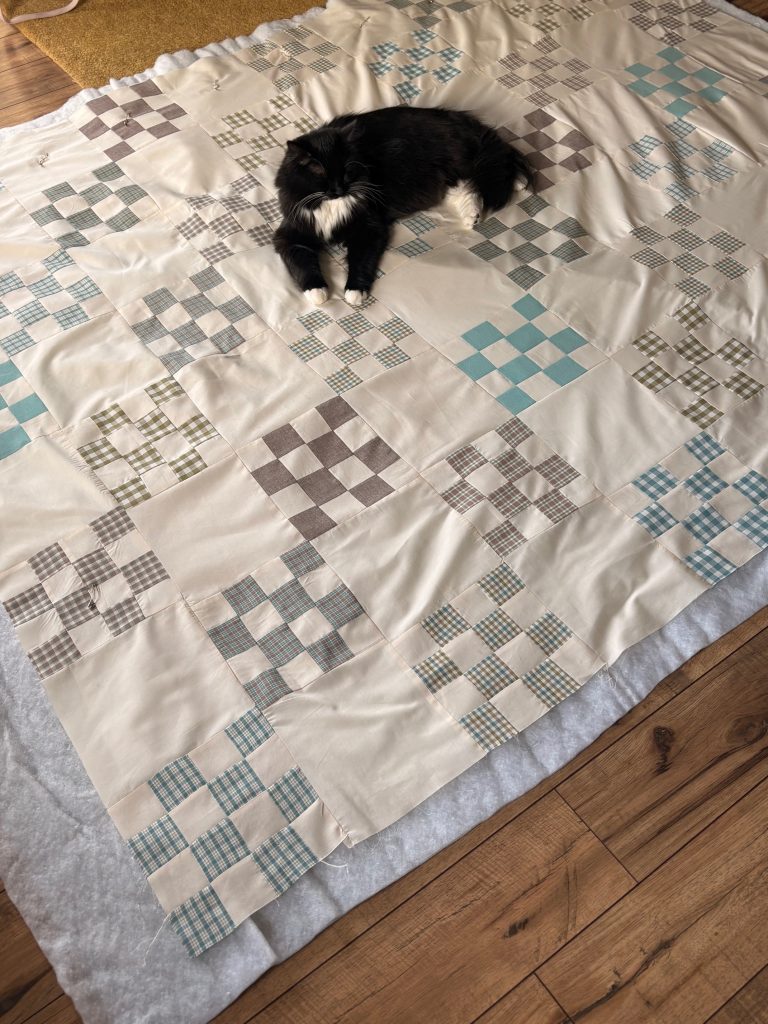
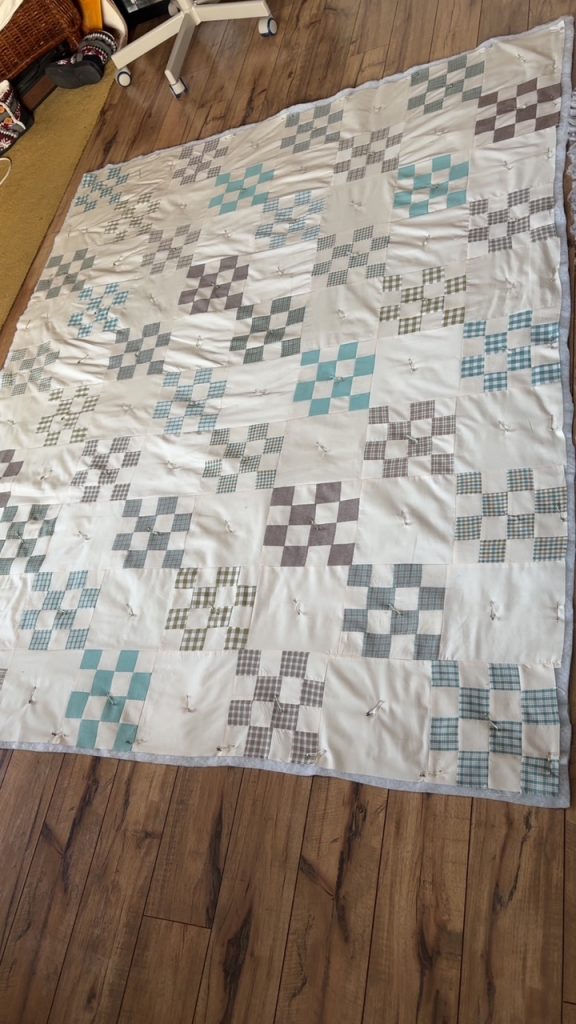
Quilting and Finishing
After piecing the top, it was time to quilt it. I chose simple straight-line quilting to complement the clean shapes of the blocks. Straight lines are calming to sew and let the patchwork stay the focus.
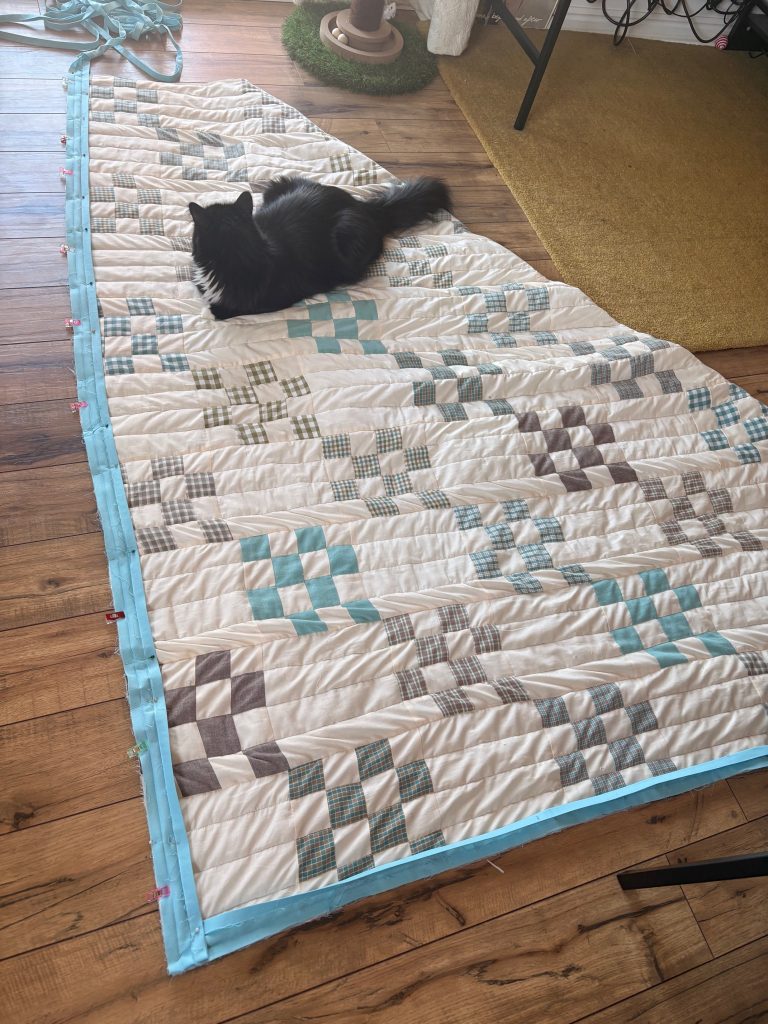
Seeing the whole quilt finished and spread out for the first time was one of those moments that makes all the slow progress worth it.
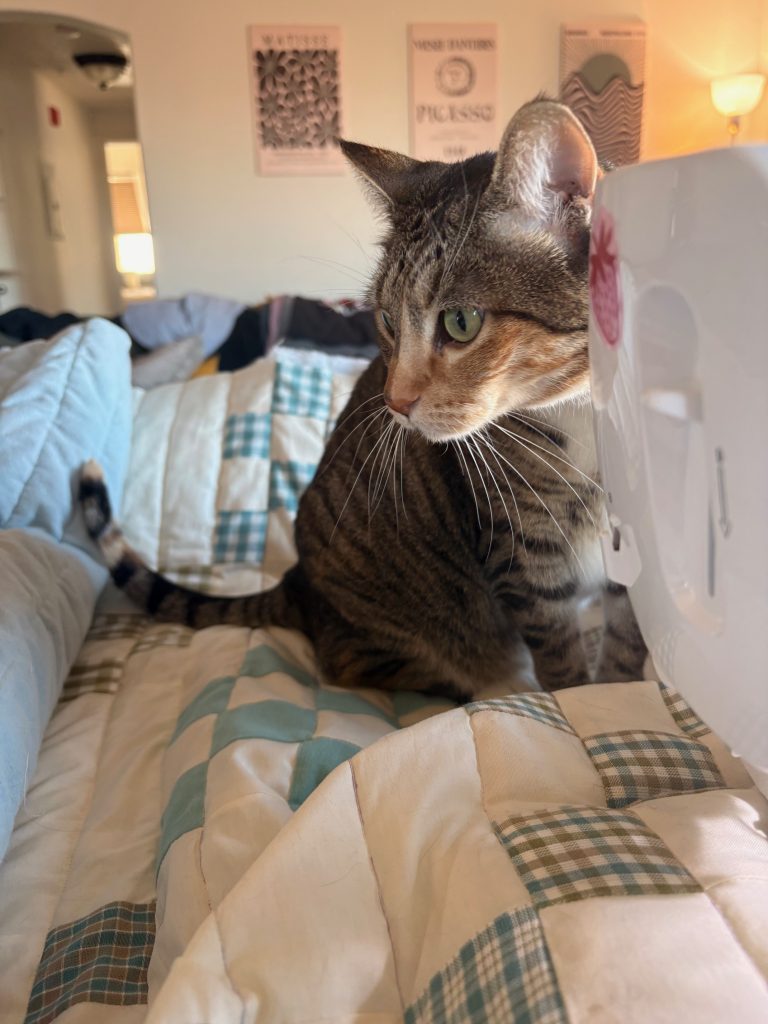
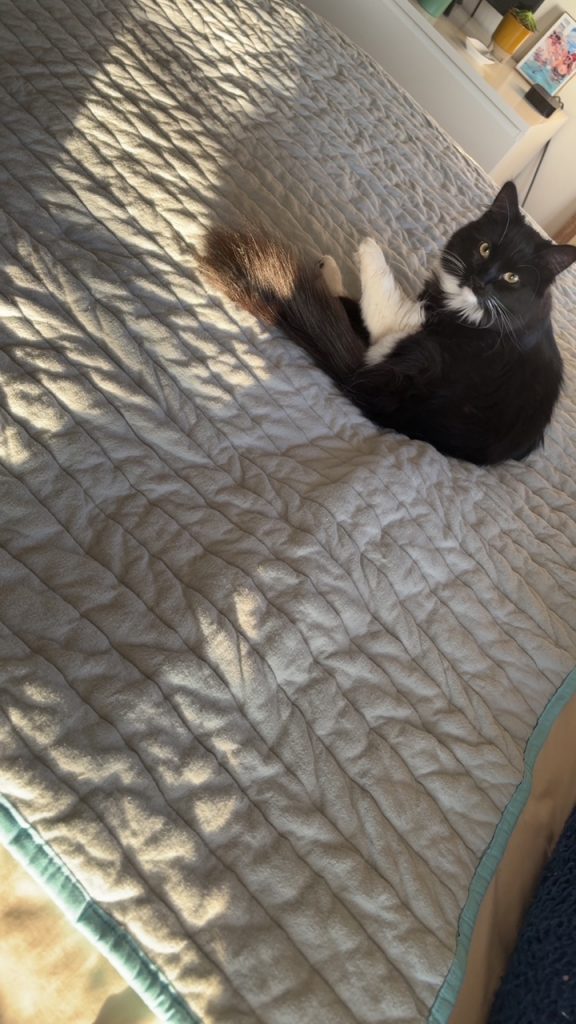
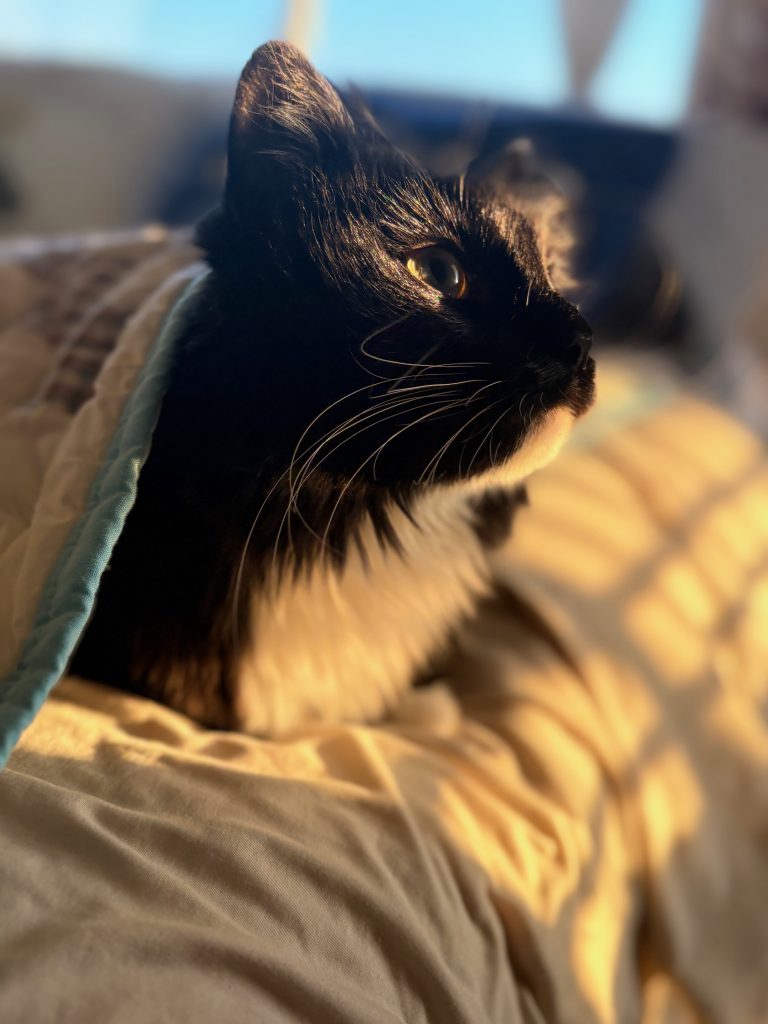
The Real Test: Cat Approval
Of course, no quilt in my house is truly finished until it passes inspection from my cats.
They claimed it almost immediately, which I think is the highest compliment a quilt can get. If it’s warm, soft, and irresistible enough for a cat nap, it’s a success.
What I Learned
This quilt took longer than I expected and definitely had a few bumps along the way, but it reminded me of a few things:
- Progress doesn’t have to be fast to be meaningful.
- Imperfections don’t ruin a handmade piece—they tell its story.
- Always double-check pre-cut fabric measurements… just in case.
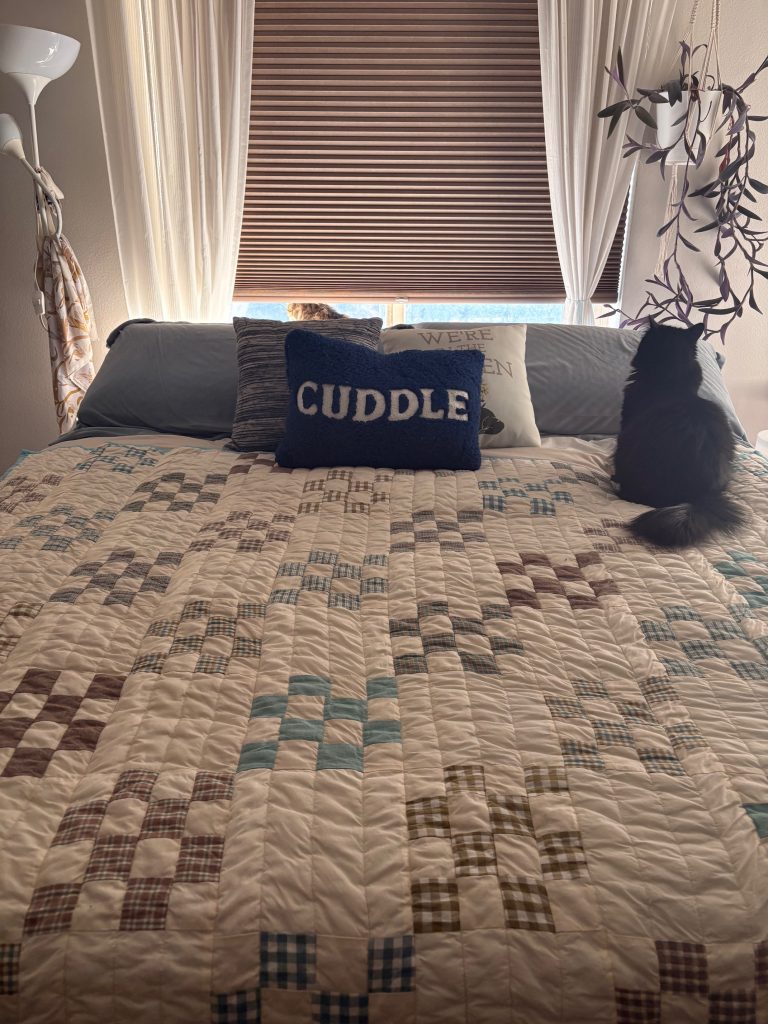
Most of all, it reminded me why I love quilting in the first place. There’s something special about turning small pieces of fabric into something warm, useful, and full of memories.
And now, every time I see this quilt on the bed, with at least one cat curled up on it, I’m glad I stuck with it.